If you are tired of plain white walls, it’s time to take a trip down to the art collectors’ shop and adorn your walls with some interesting art pieces. If you have talent, you can also break out the paintbrushes and get down to some artistry.
However, hanging a piece of art might prove much harder than actually painting it. The whole hanging process requires a careful approach in order to avoid any wall damage or even worse, damage to the artwork itself.
If you want to hang your art the right way, take a look below at the essential tips we compiled just for you.

Choose a strategy
While you may be able to hang your photo on any wall, you should consider the size and weight of the item as well as the material of your walls before you even think of getting the hammer out.
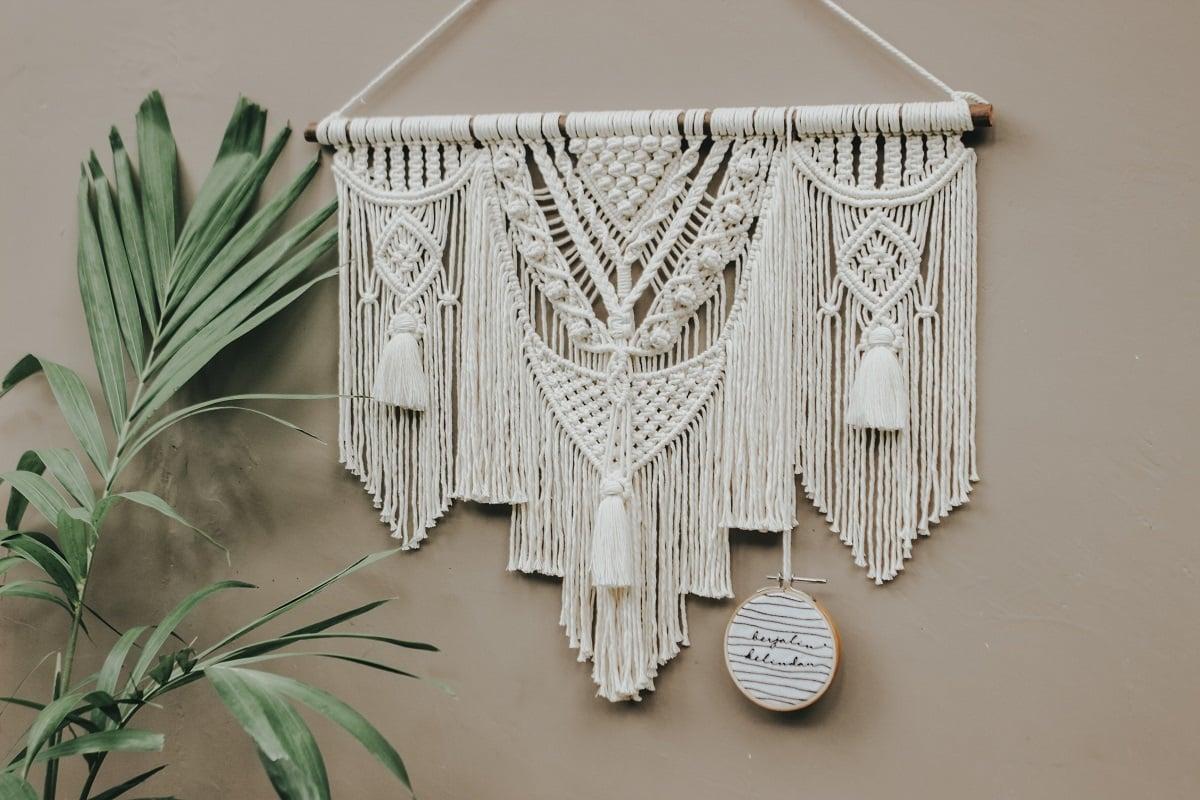
Additionally, you have to decide what kind of art would look good according to your home decor. If you are not big on paintings, there are other captivating alternatives you can go for. A fascinating decor piece such as a macrame wall hanging will transform any wall into a minimalistic masterpiece.
Gather your supplies
Certain wall materials tend to be much more fragile than others, so carefully assess whether your walls can withstand nails or drills. Generally speaking, drills should only be considered if you are hanging something super heavy.
A pack of small nails is the best way to hang photos that are lightweight. Heavy mirrors or pictures will need a large nail, a stud finder, wall plug anchors, and screws that can fit them. Hanging on tiles will require low-profile adhesive hooks. If you are hanging on brick, you can use brick clamps.
Before you start, make sure to check the back of your picture to determine what kind of hanging hardware you should use. You will usually find D rings, hanging wire, or a sawtooth hook if you turn the frame around.
Create a game plan
A well-placed frame can elevate your home decor to a whole new level. But if you don’t know how to arrange them properly, you might find yourself in a real mess. There are some guidelines, though there is no one right way to hang pictures.
Museums and art galleries hang their art at eye level, which should be 57 inches above the ground. Measure the height with a pencil and then mark the point where they meet. This is where your artwork should be located.
Before you start drilling holes, you can also map your wall using painter’s tape. Measure the frame, then cut the tape to the size you need so that you can visualize the wall with the arrangement you choose.

Hang your artwork
Once you have marked where your nails, picture hooker, or wall anchor should be, it is time to hang it. To hang a heavy piece of art, you will need a stud finder. This will help you locate the stud and verify that it is in the right place.
Instead of drilling a pilot hole and tapping the plastic anchor into the hole, drill a pilot hole and then put a screw into the wall. This will allow you to loop the wire or sawtooth over the screw in the same manner as you would with a nail.
Be creative with your display
If you like the idea of protecting your walls from damage but prefer a more formal look, a photo rail is the right solution for you. This is a small piece of molding that hangs near the ceiling. You can hang your art on hooks and strings, which will also enable you to swap it out as often as you want.
There’s also nothing wrong with leaving your art collection unframed. This way, guests will focus more on the painting itself rather than the frame or hanging method, and you will certainly enhance the charm of the painting.
Final Thoughts
Painting and macrame wall hangings are fantastic options to adorn your wall and make them look captivating. However, be aware that you will require the right tools to avoid wall damage. Follow the tips we shared in this article to help you hang your art without any problems.

